In this exercise you'll learn about the feature Point, which is used to create points in 3D space.
Creating datum points
Complete the following steps to create datum points:
Insert -> Datum/Point -> Point or ![]() .
.
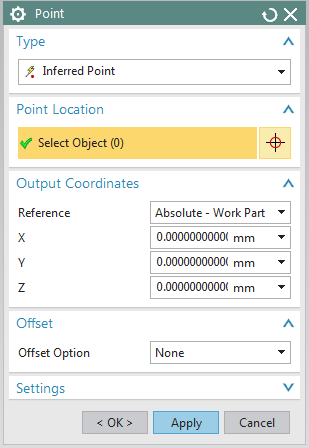
The window Point pops up. (refer figure "Point")
Here you can create (parametric) points in space. NX offers options for positioning points when  is selected. You can limit these options by using Snap Points:
| Button | Name | Description |
| Endpoint | selects endpoints | |
| Midpoint | selects midpoints | |
| Control Point | selects mid- and endpoints of curves and nodes of splines | |
| Intersection | selects intersections | |
| Arc Center | selects the center of circles or arcs | |
| Quadrant Point | selects quadrant points (refer icon representation) | |
| Existing Point | selects existing points, like the point of origin or previously defined points | |
| Point On Curve | general selection of any point on a curve |
By choosing  or
or ![]() you can select two points and NX generates a point in the middle.
you can select two points and NX generates a point in the middle.
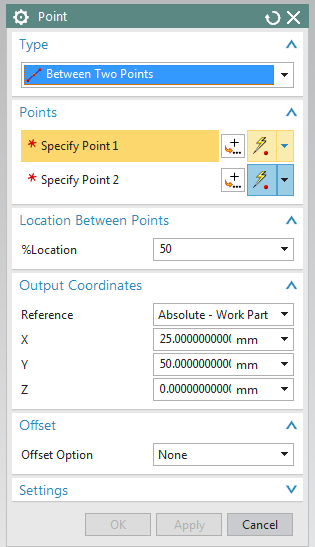
With Location between Points -> % Location you can enter a relative position for the point between two other points. The percentage descibes the location between both points, with 0% meaning Point 1 and 100% Point 2. (refer figure "% Location")
| Hint: |
|
To close this mode, click OK.
Showing and hiding datum points
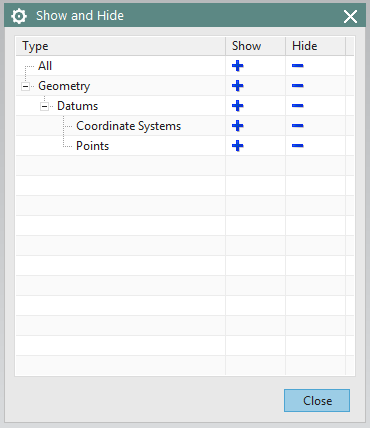
NX allows you to show and hide Points, as well as Datum planes, Sketches, etc. via
Edit -> Show and Hide -> Show and Hide...(Shortcut Strg + w) (refer figure "Show & Hide") Click ![]() to hide elements of a specific category and
to hide elements of a specific category and ![]() to show them again. Subsequently, close the window by clicking Close
to show them again. Subsequently, close the window by clicking Close
| To select points: | Select the specifc points by directly clicking or using the Part Navigator. |
| To hide points: | Edit -> Show and Hide -> Hide. |
| Hint: |
|