The part navigator gives you a tabular overview of your model and shows every executed step in modeling in chronological order. You can edit any modeling step at any time. You can also delete the so called history. Then you'll have only a volumetric body as a model, and any step used for creating it is not displayed, and can not be edited afterwards. (additional information in chapter 8.1."History Mode <-> History Free Mode")
Open the item uebungsklotz.
Using this Model, you can comprehend the following functions.
The Part Navigator is available in various operating modes. Specified by the selected mode, different options can be accessed.
We'll now explore its options offered in modeling mode, used for singe models. Choose File -> Start -> Modeling to start modeling mode. If you are already in modeling mode, you should not be able to select this option. Instead, File -> Preferences has the entry Modeling, by which you can access the window Modeling Preferences (refer figure "Modeling Preferences"). Here you can adjust basic preferences for modeling mode.
Sometimes the Assembly Navigator![]() is opened on the left side of the screen when switching modes. Ignore this and click the icon Part Navigator
is opened on the left side of the screen when switching modes. Ignore this and click the icon Part Navigator ![]() within the icon bar on the left side of the screen.
within the icon bar on the left side of the screen.

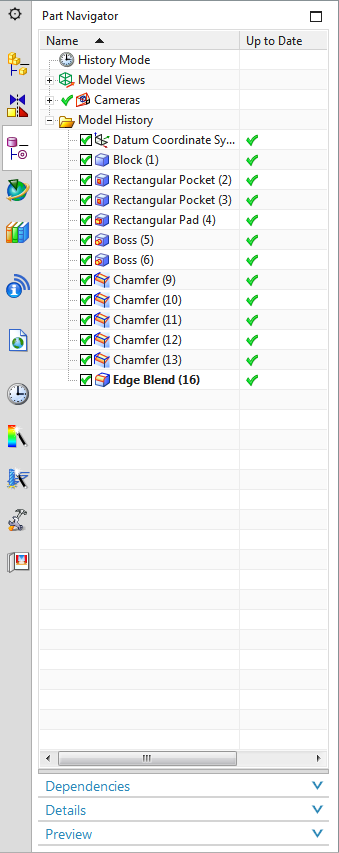
The Part Navigator is now opened and the Assembly Navigator is closed. Your Part Navigator Window should look like the picture on the right. (figure "Part Navigator")
To move the Part Navigator to a different spot on the screen, double-click on ![]() . Subsequently, you can drag the window at will.
. Subsequently, you can drag the window at will.
If you want to close the Part Navigator, click x in the upper right of the window.
First, you have to change the order of display within the Part Navigator
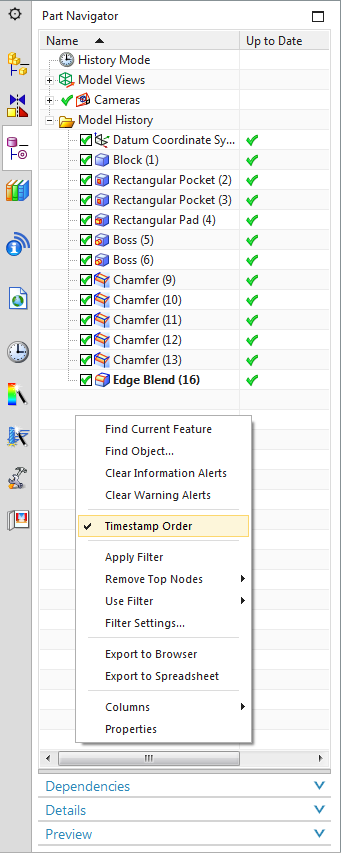
RMB-click on an empty space within the Part Navigator window. A drop-down menu pops up. Check Timestamp Order. (figure "Part Navigator - Timestamp Order")
As mentioned in the introduction, the Part Navigator offers a chronological view of the modeling history of your model. In the example on the right, the basic body Block was created first, then the functions Rectangular Pockets, Boss, Chamfer and, at last, Edge Blend were applied.
The column Layer diplays the layer in which a feature was created. If the column Layer is not displayed, RMB-click empty space within the Part Navigator and choose "Layer" within Columns .
Using the LMB, click different features in the Part Navigator and observe, how the respective element is highlighted within your 3D-Model.
You can select multiple features by additionally pressing the keys Shift or Strg.
By selecting features within the Part Navigator, you can quickly supress, edit or delete them.
To supress a feature, uncheck the box on the left of the feature.
Suppressing features is especially helpful for models with a lot of features, so they are easier to oversee. Additionally, by suppressing certain features like detailed threads or edge blends, the computer's performance can be increased significantly. Features are marked as suppressed, if the green check is missing in the box next to the feature within the Part Navigator.
Suppressing a feature means it is theoretically not created, the name remains within the Part Navigator, but it is not visible within the 3D-Model. Features, that depend on a suppressed feature, are suppressed as well. Suppressing can be undone by simply checking the box next to the feature within the Part Navigator again.
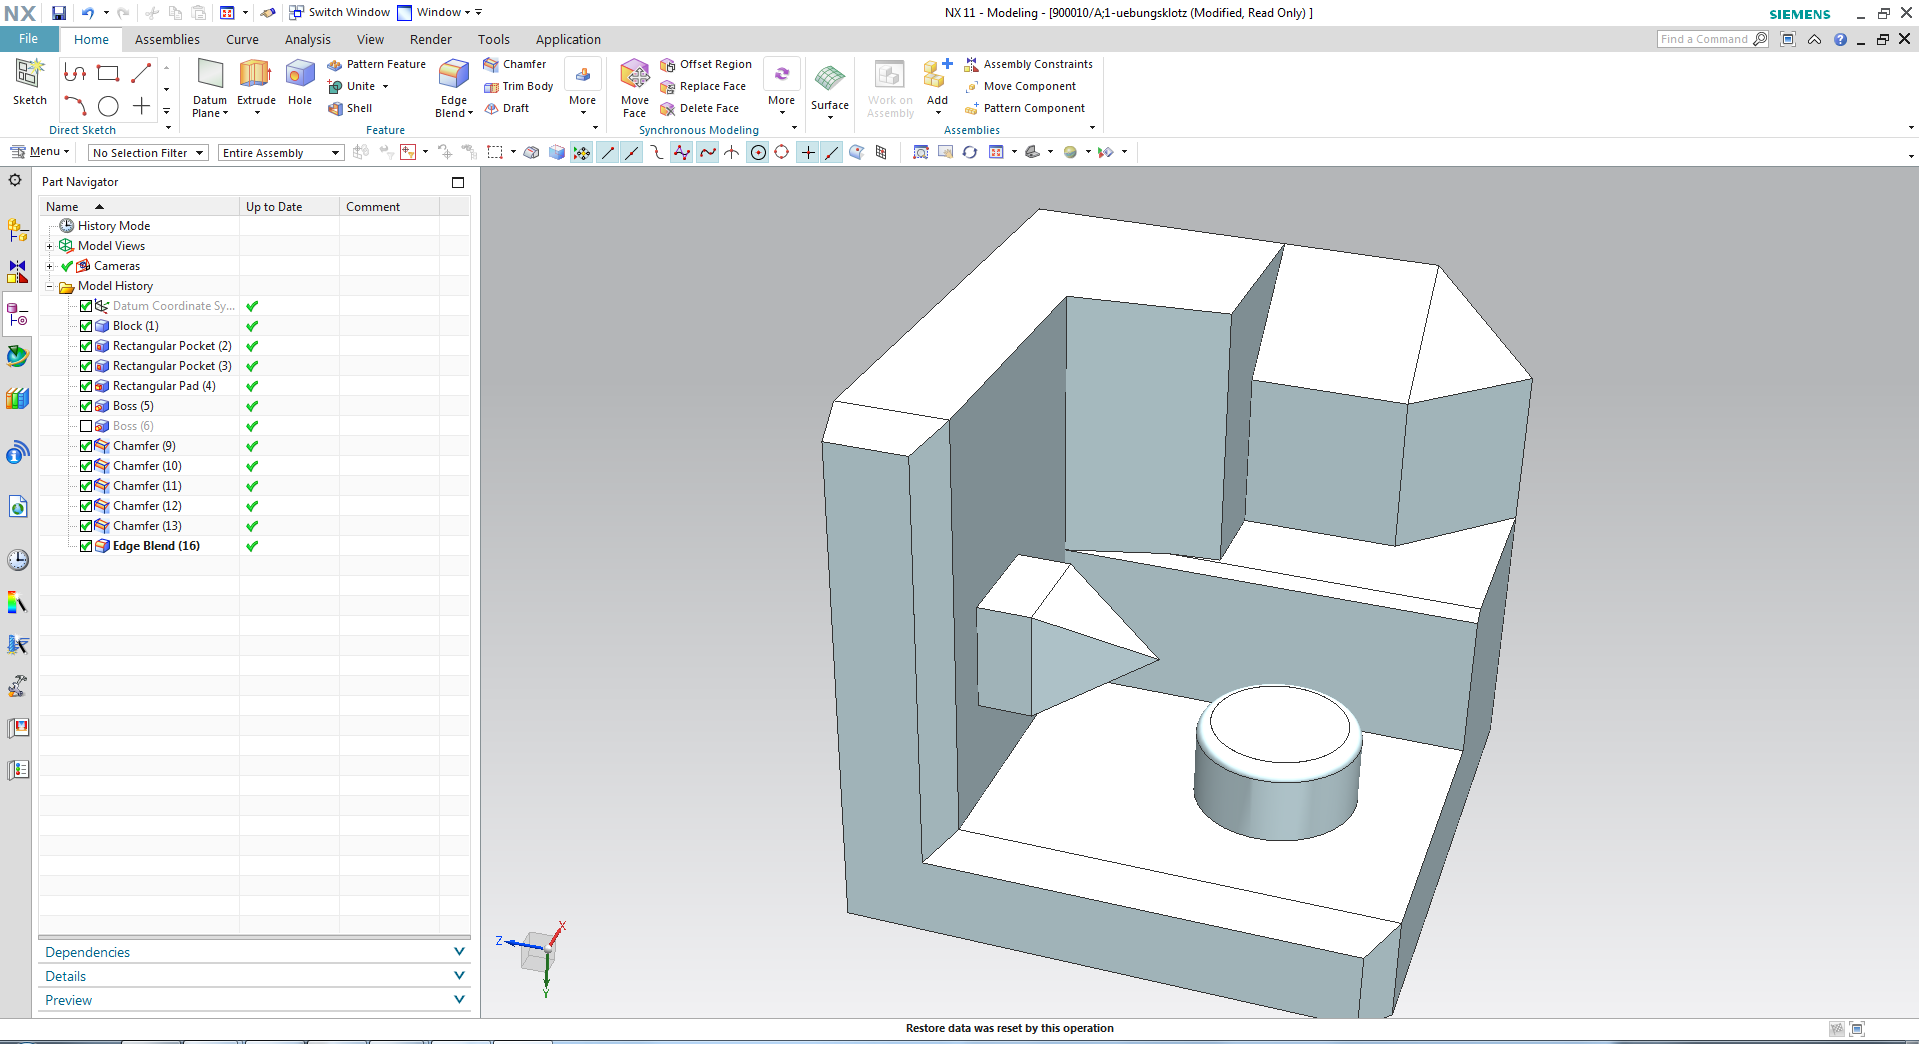
In the picture on the right you can see the "Übungsklotz" example with the suppressed feature Boss and the respective Part Navigator, where the green check next to Boss is missing. (figure "Part Navigator - Feature suppressed").
To retrieve a feature, click the respective box within the Part Navigator.
If the color of the name of certain elements within the Part Navigator changes to red or blue, a parent-child relation exists. You can find additional information in chapter 4.4.3 "Parent-Child relation".
You can also edit an Item by using the Part Navigator.
Mark the feature you want to edit by selecting it in the Part Navigator. RMB-click on the name of the feature to open a drop-down menu. You can now select Edit Parameters... or Edit Positioning....
- Edit Parameters... : This dialog allows you, depending on the type of feature selected, to change measurements, references (like placing it on a different surface), to add a chamfer or edge blend Feature to edges, to change the type of a hole (like through body or defined depth), or similar options. (figure "Part Navigator - Edit Parameters")
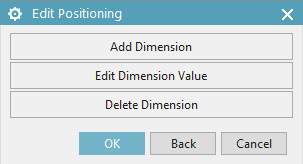
- Edit Positioning...: This dialog allows you to edit the position of a feature relative to a body. It's only available with older functions, like boss or pocket. If you want to edit positioning of other features, you can do so by choosing Edit Parameters.... You can add, edit or delete measurements. Please note the information Feature position is fully specified or Feature position is underspecified on the bottom of your screen. It tells you, if you have defined every degree of freedom of a feature by added measurements. (figure "Part navigator - Edit Positioning")
The menu Edit Parameters can also be opened by double-clicking the respective feature within the Part Navigator.
You can also use the Part Navigator for deleting features.
Right-click the feature within the Part Navigator, and choose Delete within the drop-down menu that pops up subsequently. This deletes the feature without further confirmation.
The only option to retrieve a deleted feature, is by clicking undo ![]() or by choosing Edit -> Undo List -> Delete.
or by choosing Edit -> Undo List -> Delete.
Unlike when suppressing a feature, deleting a feature completely deletes it, the name of the feature also disappears from the Part Navigator.
| Hint: |
|