Creation of the subassembly Sensor_hinten
The first step is to create the subassembly ubg_sensor_hinten. This subassembly consists of eleven individual parts and an additional subassembly:
- UBG_Sensor_tast
- Steckverbinder (2x)
- Steckverbinder_Stange (2x)
- 11er_Balken
- Stangen_Querverbinder (2x)
- 5er_Stange
- Parallelsteckverbindung (2x)
- Steckverbinder_lang
Preparation of the Assembly
To create an assembly, always proceed in the same way: First create an empty assembly. Then install a first component and position it absolutely. All subsequent parts are then referenced to this part.
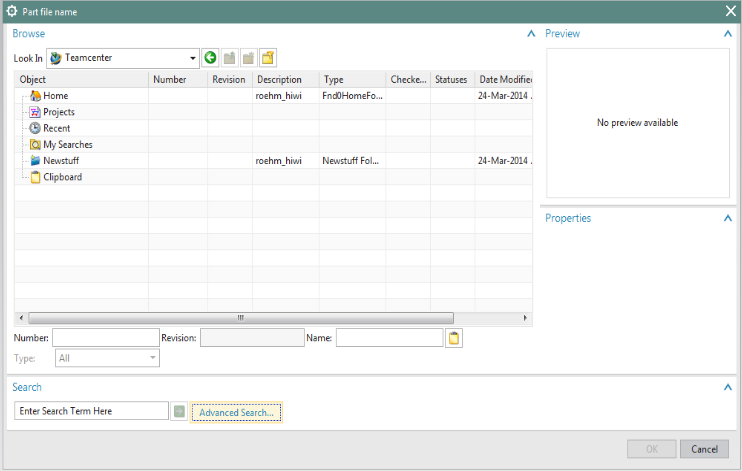
Create a new item ubg_sensor_hinten according to the naming convention in Teamcenter and open it in NX. In the window Select Template Part select the Template Assemblies which can be found in the Model tab. (see figure "Select Template Part")
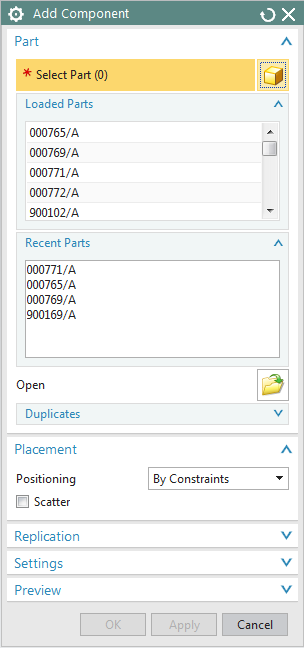
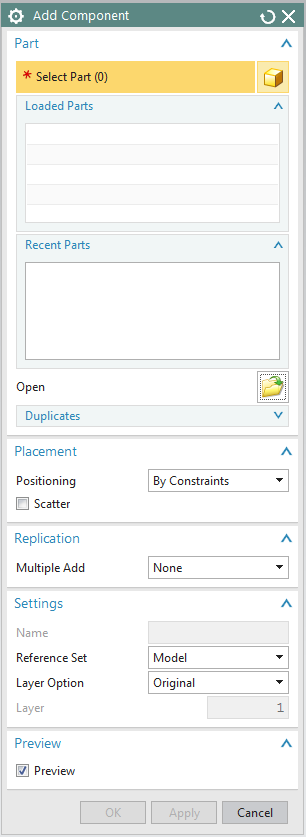
You will now be taken directly to the option to install the first component. If the window does not open or if you have closed it in the meantime, open it again via Add![]() (under the Assemblies tab).
(under the Assemblies tab).
Installing the first component
The 11er_balken should serve as the basic component for our subassembly. After searching and selecting the desired component, confirm with OK.
| Note: |
Always select the Item Revision of the part to be installed. |
To simplify matters, NX provides a selection area in the Add Component window for components that you need more than once, which allows you to select the part directly without having to go to the corresponding directory again.
The first component of an assembly should always be fixed. This sets the first part of NX with respect to the absolute coordinate system. For other components of this assembly the constrain Fix will not be used again!
To position the 11er_Balken in absolute position, select the By Constraints option in the Add Component window under Positioning. Since the auxiliary geometry of the 11_Balken may be needed later on, select the Entire Part option under Settings
| Note: |
If the option Model is selected under Settings, only real surfaces are available for referencing further components, which can make installation considerably more difficult. If you should have gotten along with the real surfaces of this part and would like to do without the auxiliary geometries for simplifying your assembly, or if you should still need the auxiliary geometries of a part after installation with Model , you can right-click on the corresponding part in the context menu Replace Reference Set -> Model/Entire Part in the Assembly Navigator.
|
Under Settings you can also give a name to the built-in part. By default, the part ID from Teamcenter is used here. Enter the part name according to the naming convention (11_balken_benutzername) (Figure "Add Component with Options").
Confirm with OK.
The Assembly Constraints window now opens automatically. Select Fix in the Type menu and click on the component. After confirming with OK, the 11_Balken is installed.
Assembly Navigator
When working on assemblies, it is often helpful to get an overview of the relationship conditions.
On the left-hand side of the screen, in the Assembly Navigator under Position, you will find a circle describing the installation status. If the column Position does not appear, you can right-click on it in the Assembly Navigator under Columns -> Position to add it. Since the column Position is now positioned relatively far behind other columns, it is possible to move it to any other position. To do this, press the RMB in the Assembly Navigator and go to Columns -> Configure.... Then select the field Position in the tab "Columns" and move it with the arrow keys at the right margin to any position.
| Status | Meaning |
|---|---|
| Position not defined | |
| Position partially defined | |
| Position fully constrained |
| Note: |
|
| Note: |
|
| Attention: |
|
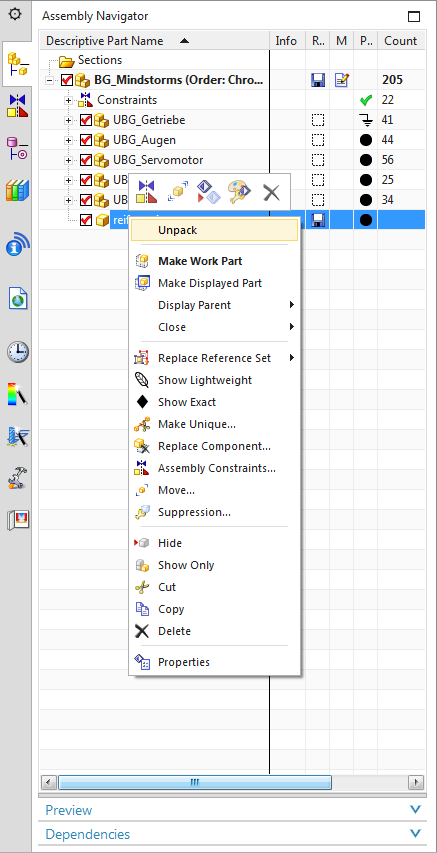
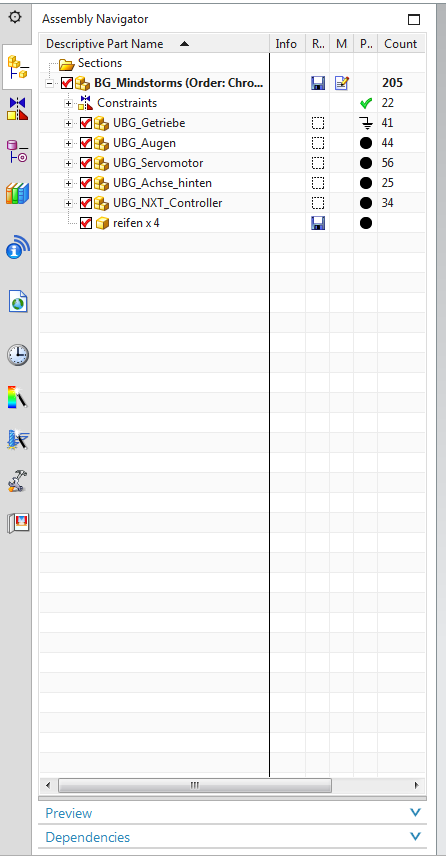
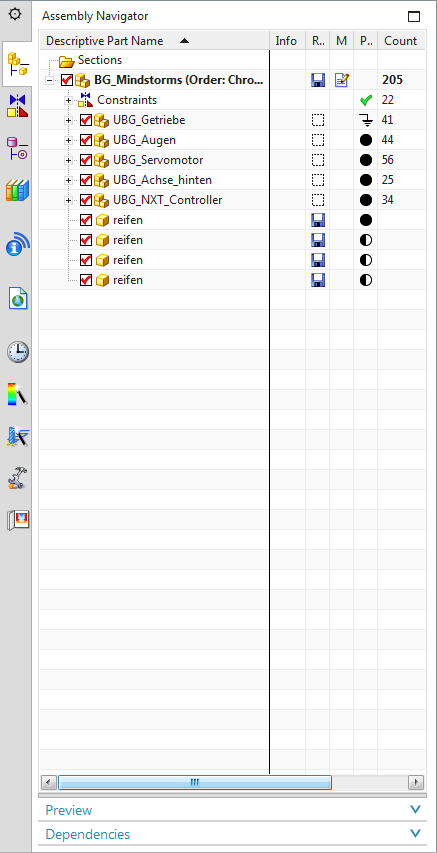
If several similar components are inserted into an assembly, they are grouped together by NX in the Assembly Navigator by default. You can recognize this by the fact that the name of the component appears only once and the number of installed components of this type is noted behind it (Figure "Context menu Assembly Navigator"). If you click on the entry in the Assembly Navigator with the RMB and select "Unpack all", all parts are displayed separately. Via Tools -> Assembly Navigator -> Unpack all you can perform this operation for all installed components. As soon as one of several equal parts is fully constrained and the grouping is active, the fully constrained logo will be displayed after the entry in the Assembly Navigator (Figure "Referencing Packed"). Only when you remove the grouping "Unpack all" will you see whether all parts have been completely referenced (Figure "Referencing Unpacked").
Open Assemblies menu

If you can't find the buttons as usual, activate the Assembly Mode in NX with File -> Assemblies.
The Assemblies toolbar in the upper part of the window will then be displayed. (Figure "Assemblies")