In this section you'll learn about the feature Pocket.
With that you can create rectangular pockets on surfaces.
Open the model block, if you created it previously, and save it as pocket according to the naming convention. Otherwise create a new model pocket and add a block with the following dimensions to it:
| Dimension | Value [mm] |
|---|---|
| Length | 200 |
| Width | 100 |
| Height | 50 |
Now you should create a rectangular indentation. Choose the feature Pocket ![]() . In the menu that just popped up, choose Rectangular.
. In the menu that just popped up, choose Rectangular.
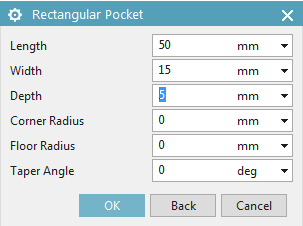
Now the menu Pocket pops up. (refer figure "Menu Pocket")
Simple pocket
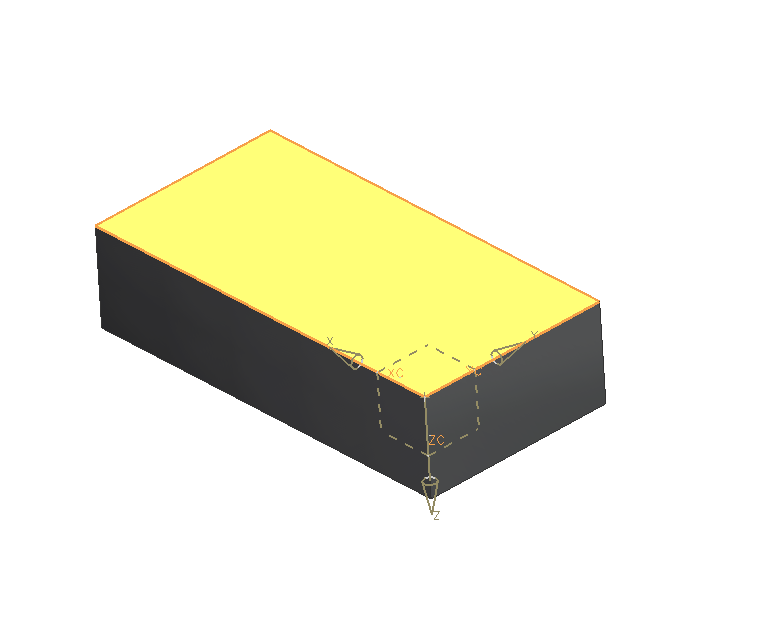
Click the surface, on which you want to create the pocket, in this case the XY-Plane.
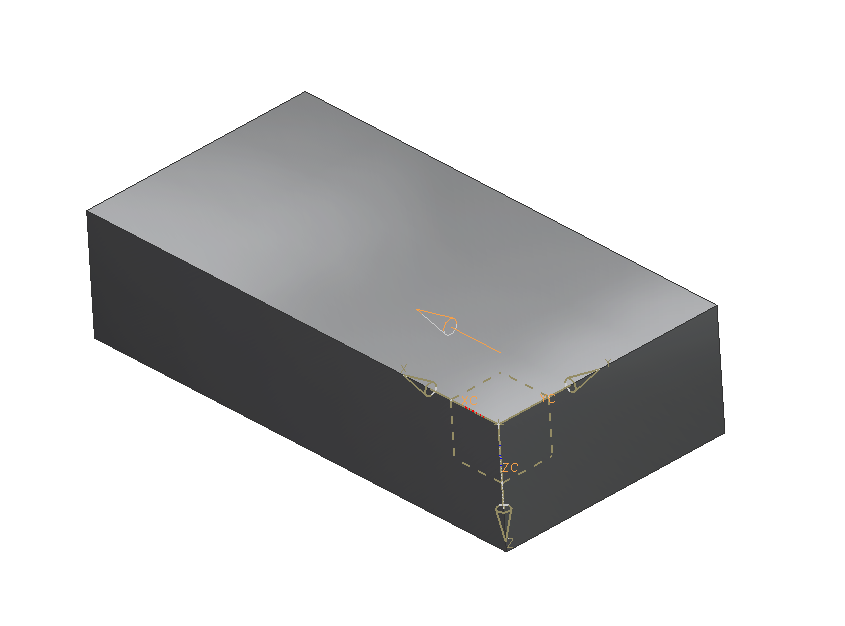
Select the XZ-Plane as horizontal reference. A vector appears, that indicates the direction for length of your pocket. (refer figure "surface selection pocket") and (refer figure "vector")
Enter the following values in Rectangular Pocket:
| Dimension | Value [mm] |
|---|---|
| Length | 50 |
| Width | 15 |
| Depth | 5 |
Confirm by clicking OK.
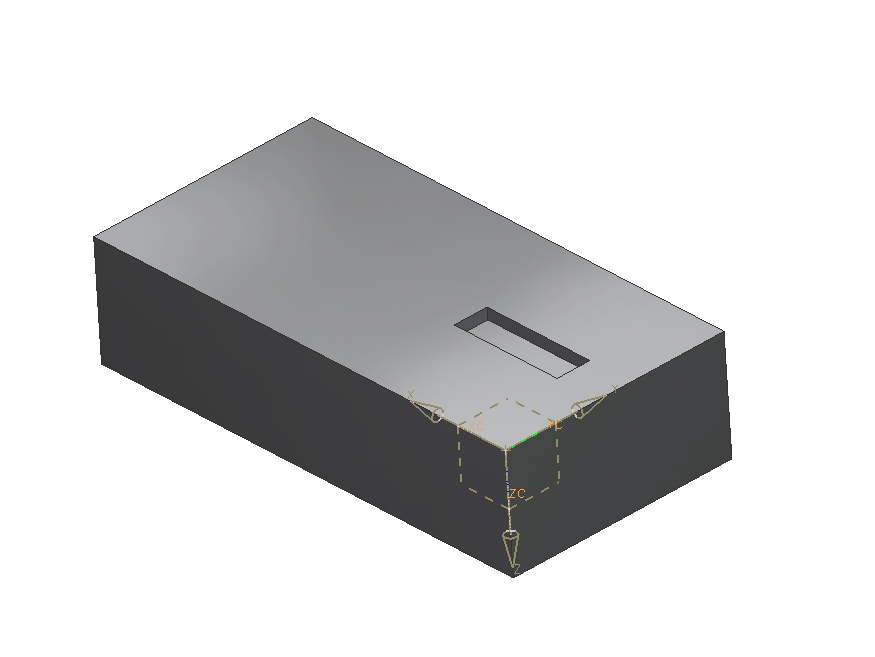
Now the positioning of the pocket follows. In Positioning, select ![]() (Parallel at a Distance). Click the long edge of the block and then the respective edge of your pocket. Enter the value 42.5mm and confirm with OK.
(Parallel at a Distance). Click the long edge of the block and then the respective edge of your pocket. Enter the value 42.5mm and confirm with OK.
Now choose ![]() (Perpendicular Dimension). Enter 20mm as the distance from the short side of the block to the respective edge of the pocket.
(Perpendicular Dimension). Enter 20mm as the distance from the short side of the block to the respective edge of the pocket.
Close this menu by clicking OK and Cancel. (refer figure "Pocket created")
Pocket with corner radius
Select the pocket with LMB. Then RMB-click the pocket now highlighted orange. In the menu choose Edit Parameters and then select the option Feature Dialog.
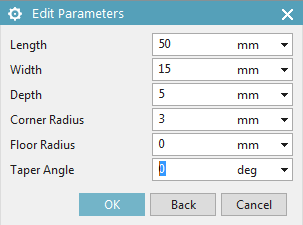
In Edit Parameters, edit the value Corner Radius to 3mm and confirm by clicking OK. (refer figure "Edit Parameters")
Alternatively you can RMB-click the feature in Part Navigator and choose  .
.
| Hint: | Edit Parameters is exactly the same window Rectangular Pocket. Here you can edit all the previously entered values of the feature. |
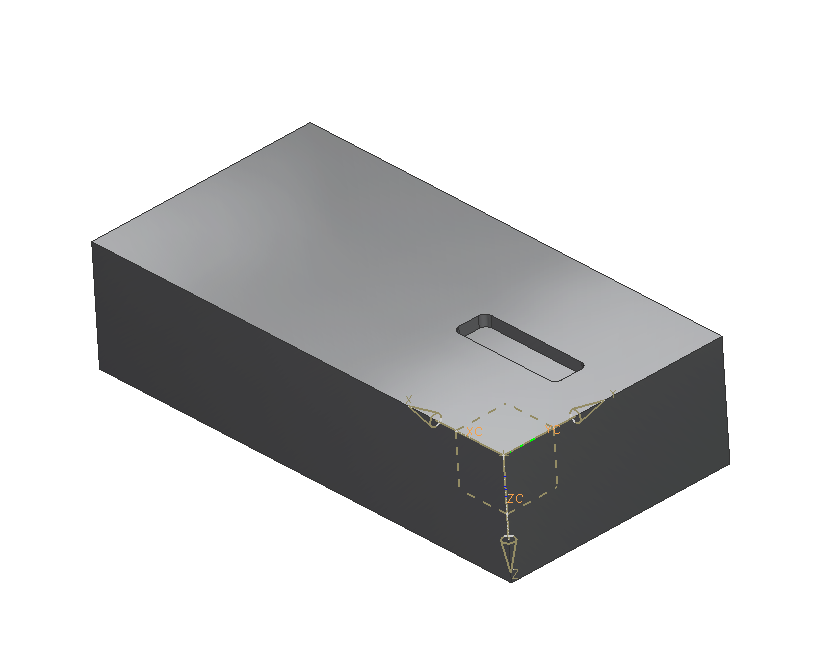
Close the menu by clicking OK. (refer figure "Pocket with corner radius")