For the following tutorial you need the spacer_tpd of the Scooter as a master model. You will find the item in Teamcenter.
Saving the model in the home folder
To add a drawing (specification) to a model (item), you need a write permission for the corresponding item. If the model is assigned to another user (e. g. uebung_tpd), you must first become the owner of the model. Please proceed as follows:
- Search for the spacer_tpd part in Teamcenter.
- Open the component in NX.
- Then save the part in NX (NOT in Teamcenter) via the function File -> Save -> Save As... NEW Item in your home folder. Assign a new part number to the model before saving (see chapter 2.7 "Creating a New Item"). Now you are the owner of the new item (your copy of the model).
Creating a drawing
Load your newly created part into NX.
Create a new drawing with New (also to be found under File -> New).
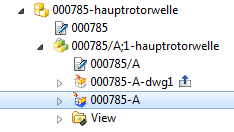
The drawing is added to the loaded revision as a specification (dwg) (see figure "Spezifikation in Teamcenter") (For more information on the entries in Teamcenter, see Section 2.7 "Creating a new part").
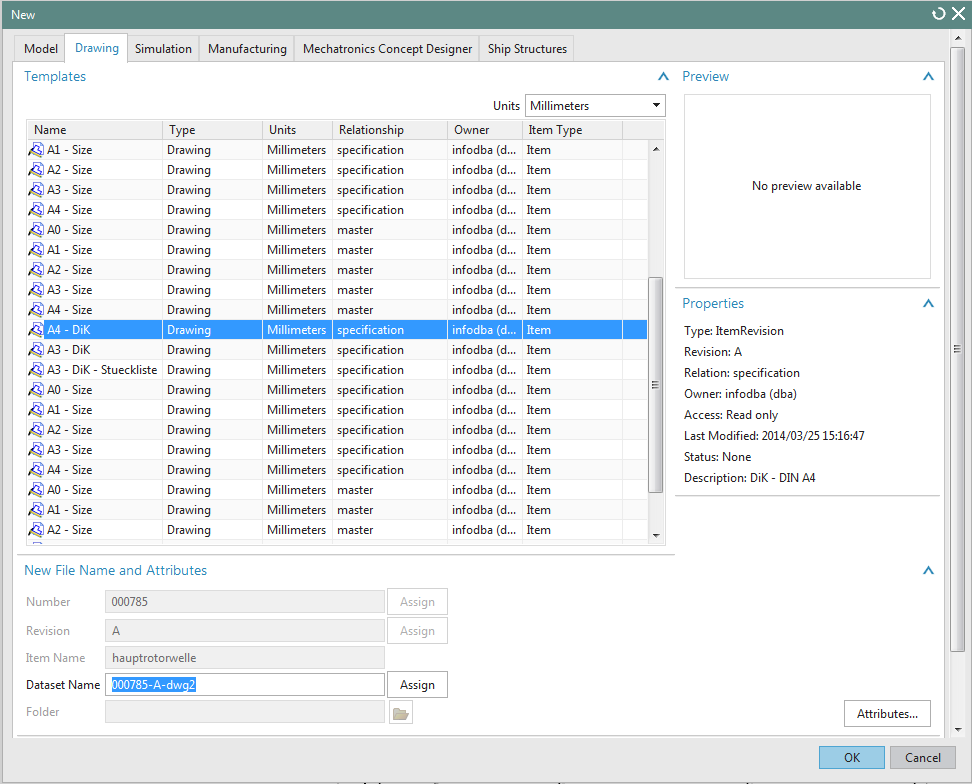
The Window New appears. (see figure "Creating a drawing")
- Select the Drawing tab.
- Select your drawing format. Either DIN A4 upright (portrait) or DIN A3 horizontal (landscape), select A3-DiK.
- Under Name and Attribute everything is now filled in automatically.
- Under Reference Part, you can check which part has been selected. If the wrong part has been selected, you can click on the folder opposite and choose between the opened parts, or cancel via Cancel and reload the part.
- Clicking OK creates the specification and you will automatically enter the drawing mode of NX.
| Note: |
|